How to setup Continuous Integration and Deploy Pipeline for ASP.NET MVC Framework application to Azure Web App
In this article I will try to explain in as few steps as possible a way to do CI and deploy from an Azure DevOps repository to an Azure hosted Web App. There are many ways to do this, but this worked for me (2021-01-18).
I’m creating the CI from the Azure portal, but you can also do it more manually, like described by Scott Hanselman in this blog post, which can be useful to read through: https://www.hanselman.com/blog/azure-devops-continuous-builddeploytest-with-aspnet-core-22-preview-in-one-hour
Tools and Frameworks used: Visual Studio 2019 Version 16.8.4, .Net Framework 4.7.2
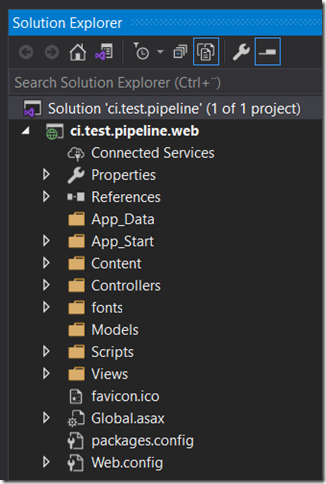
Pre-reqs: I assume you already have an Azure Web App registered that runs ASP.NET 4.8 or similar. Mine is called ‘ci-test-pipeline’. I also assume you already have a repository and a project in Azure DevOps, again, mine is called ‘ci-test-pipeline’. You can also have your repo in github, the steps should be similar. In this repo, I have a vanilla ASP.NET MVC application created and checked in. In my case ‘ci.test.pipeline.web’ in a ‘ci.test.pipeline’ solution:
Initially the pipeline page in DevOps will be empty, unless you’ve already setup a pipeline. To create a CI pipeline you can go about it in a few different ways, but this article describes how to do it from the Web App page in Azure portal.
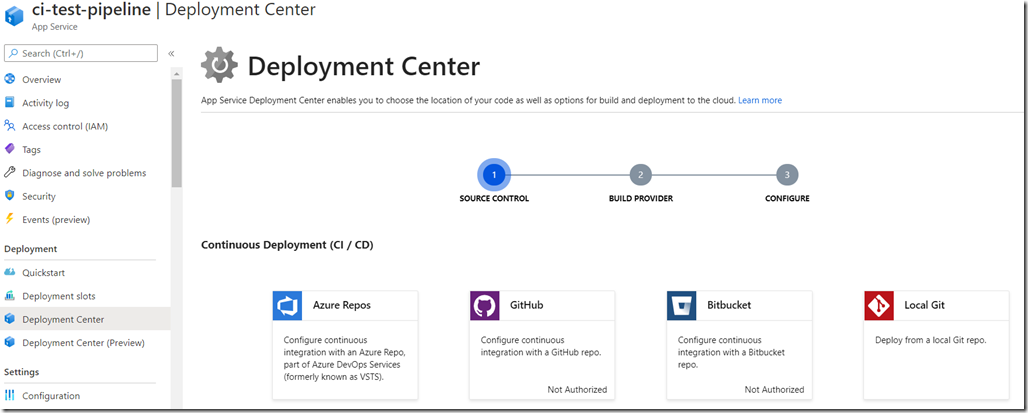
Goto the Deployment Center page in the Web App menu, and select to create a Continous Deployment (CI / CD) deployment for ‘Azure Repos’.
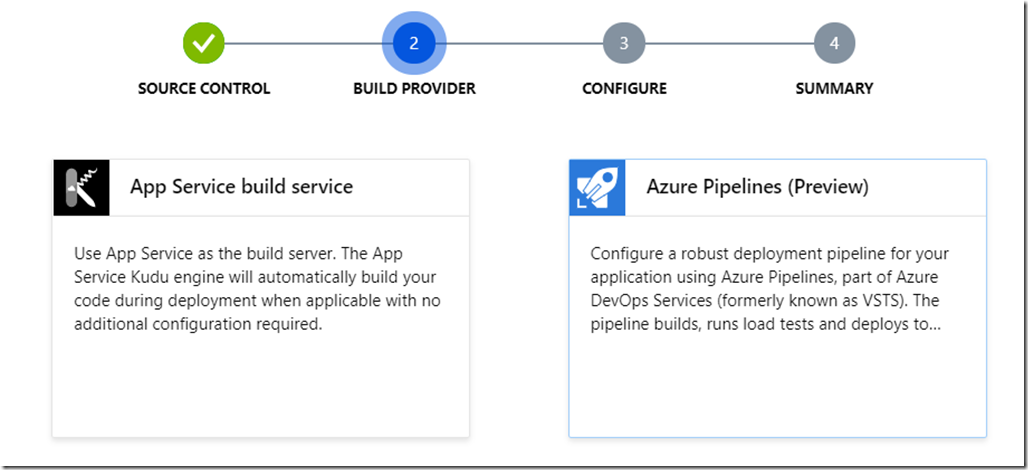
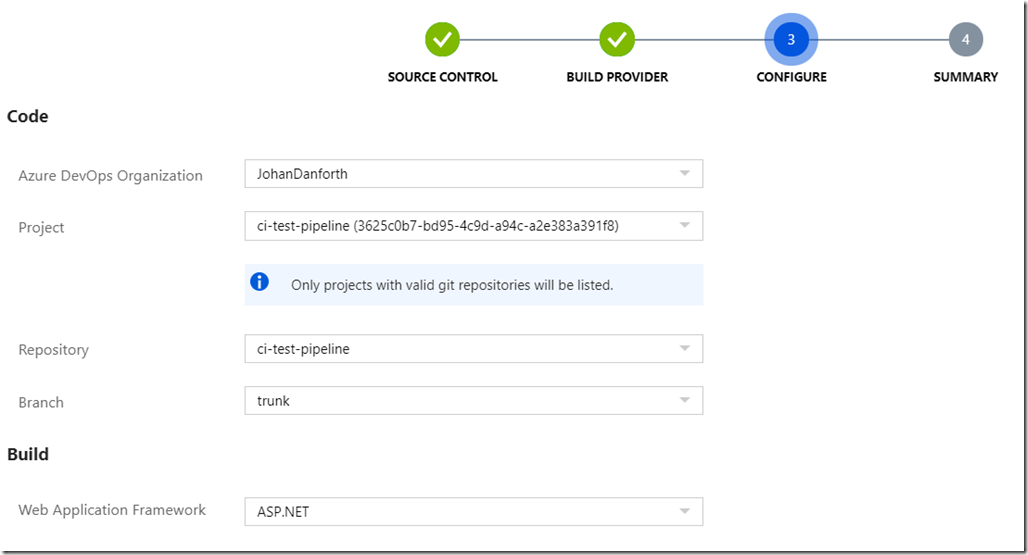
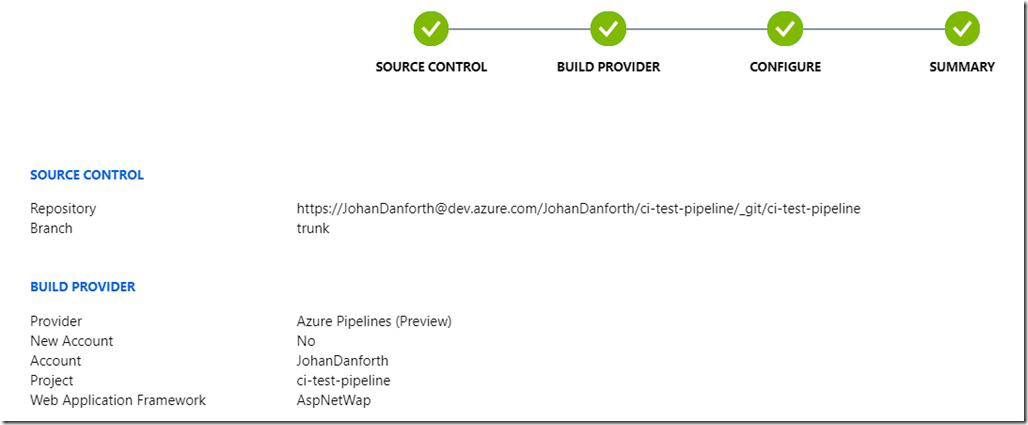
Then just follow the steps, it’s hard to do anything wrong as the wizard helps you with dropdowns along the way. Just make sure you select the correct repo and which ‘Web Application Framework’ you are using. In my case for an ASP.NET MVC .Net Framework solution, select ‘ASP.NET’.
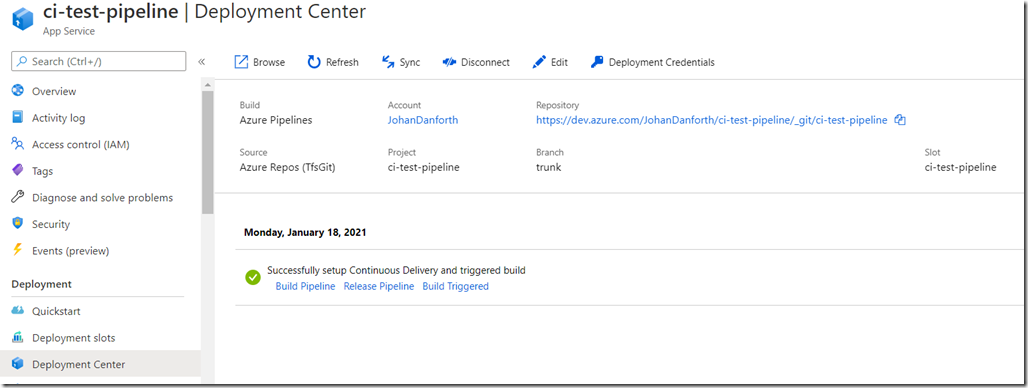
Once the pipeline is created, it should look something like this on the deployment center page, with a message of a successful setup. This is still in the Azure portal, under your Web App:
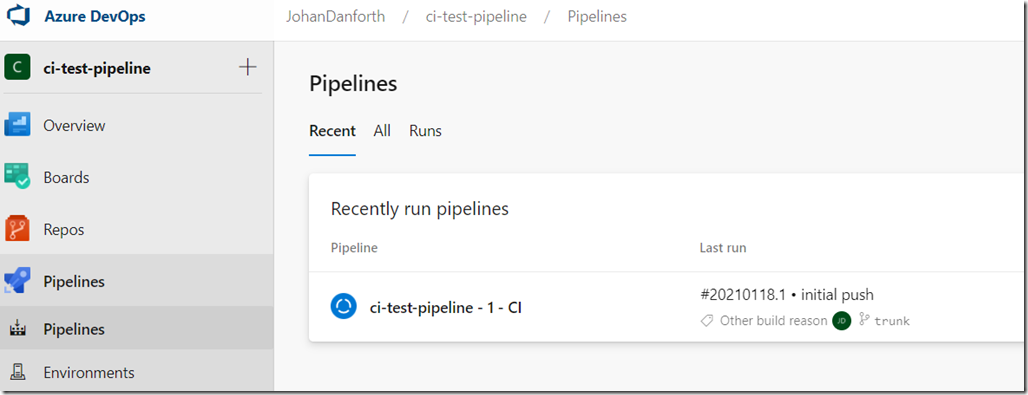
If your project was already checked in, like in my case, this also triggers a first build + deployment in Azure DevOps:
And you should eventually get an email from Azure DevOps with a success or failure message. In my case I get a ‘partial success’ because of an error in the pipeline:
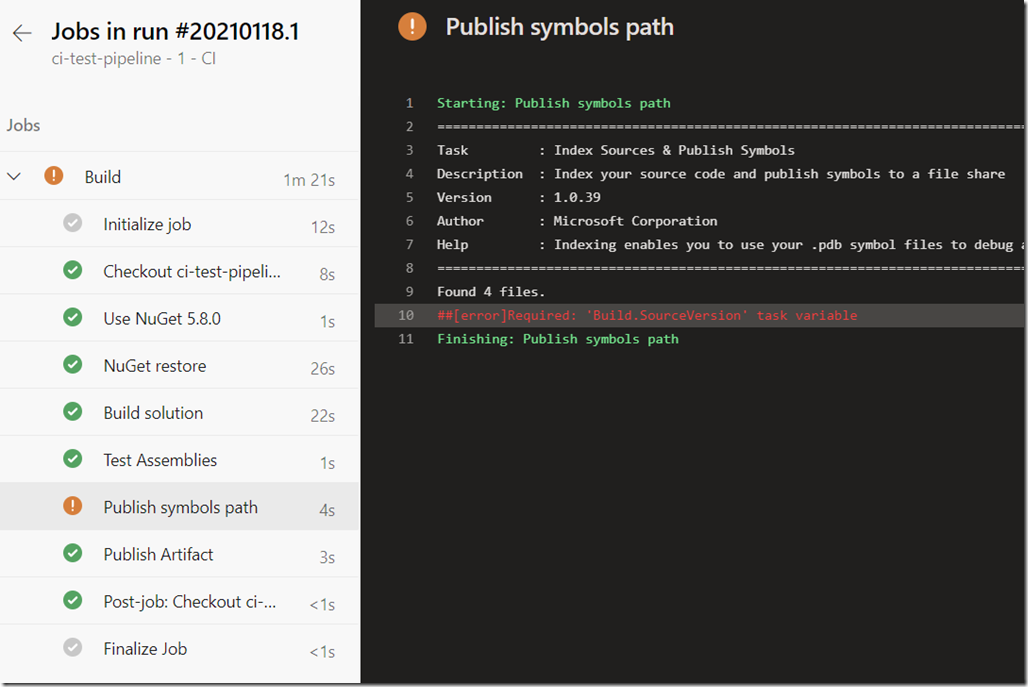
To view the deails of this message, just look through the detailed steps in the last run in Azure DevOps. You can easily get to these details by clicking the ‘View results’ link/button in the email, and drill into the job details:
For some reason the ‘Publish symbols path’ is missing a required task variable – ‘Build.SourceVersion’, but the build succeded and published/uploaded the artifact to a ‘drop container’ and the application is deployed to the Azure Web App. I’m not concerned about this warning right now, just happy it runs through.
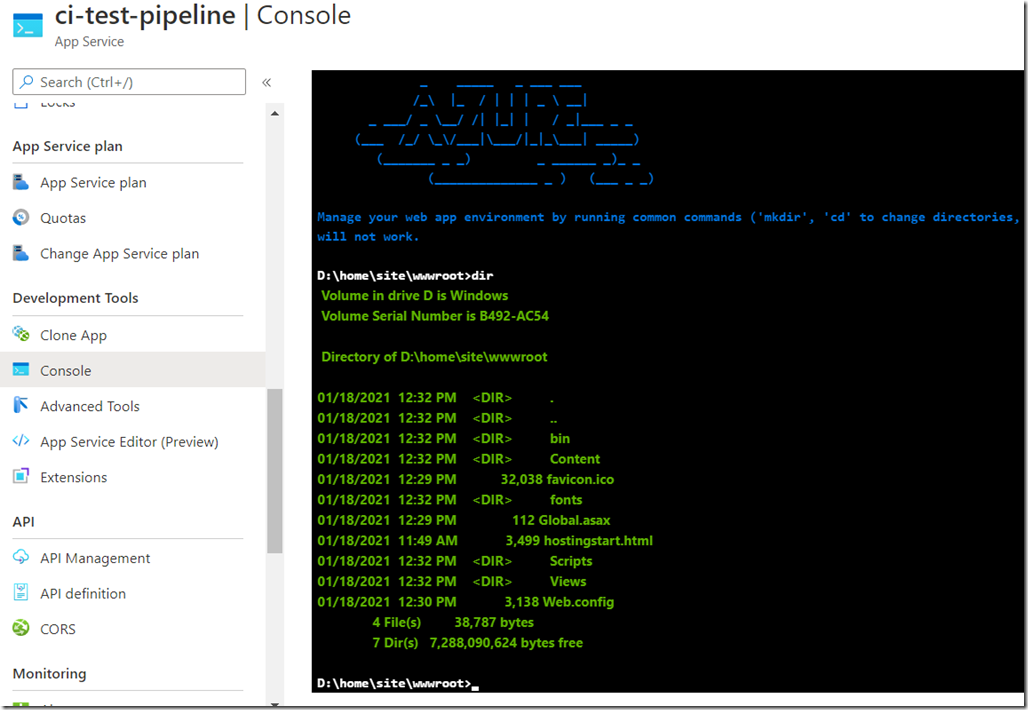
To see the deployed files in the Azure portal, you can go look at the console development tool for the Web App in Azure portal, which is neat:
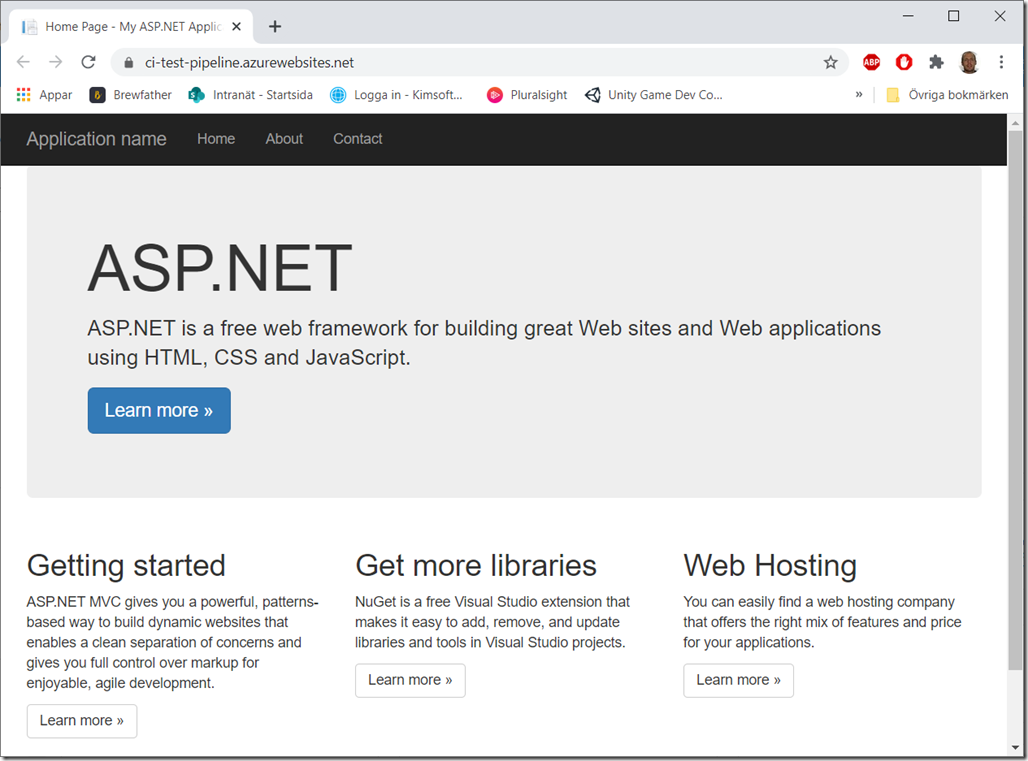
And you should also be able to view your website at <your web app name>.azurewebsites.net, to see that it works as expected:
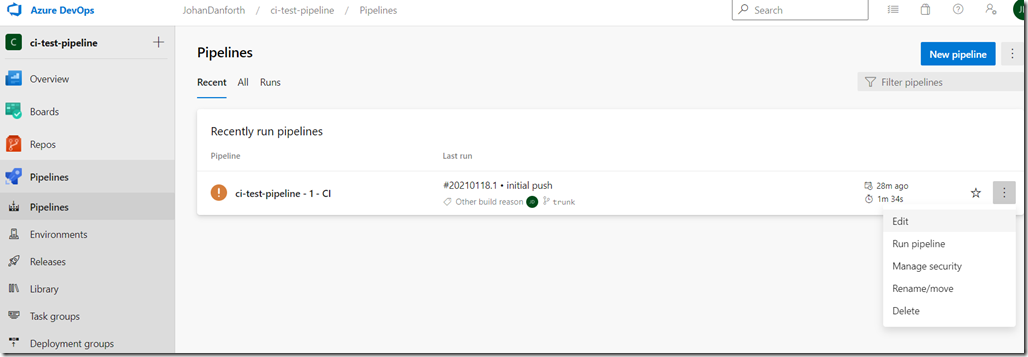
To view and edit the pipelines steps created for you by the Azure portal wizard, visit the pipelines menu in Azure DevOps, and select to ‘Edit’ the pipeline:
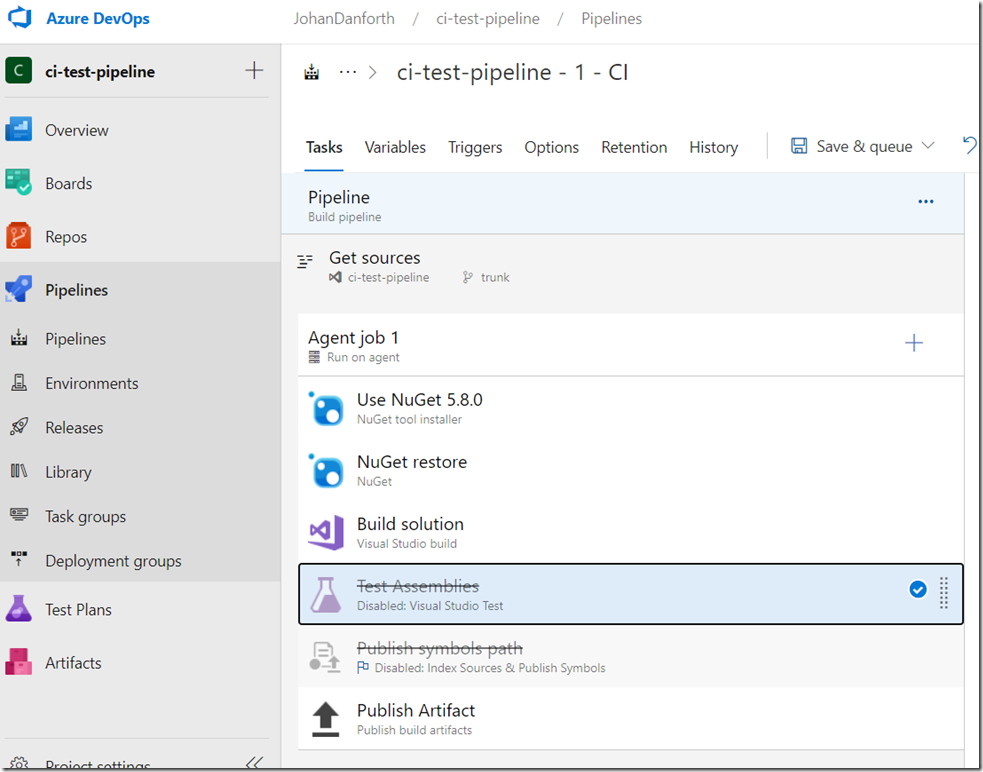
In edit mode, you see all the steps, and you may opt to disable the ‘Test Assemblies’ and ‘Publish symbols path’, until they are needed:
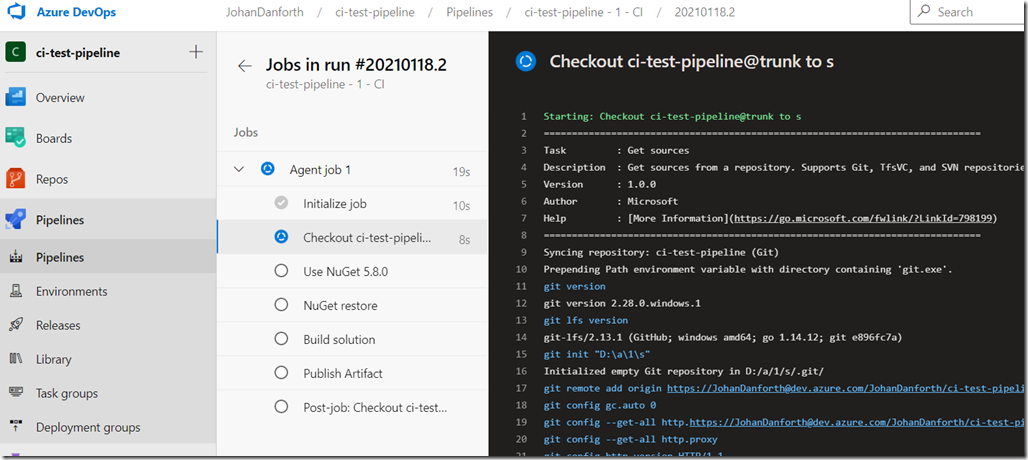
Remember to save the changes, and try them out again. It’s useful to follow the pipeline job by clicking on the ‘Agent’ that runs the job. the screen updates for every step:
There are loads of different pipeline steps you can add and customize, which is very helpful if you want to do pre- or post-build steps with your code – like adding build information to your website - which build is deployed and what source code version is actually running.
That’s enough screenshots for this article. Hope it helps.
In a follow-up to this blog post, I’ll add build information to the website, and finally add authentication.
