Installing Android 9 Pie with Microsoft apps on Nexus 7
Years ago I blogged about installing Android 6 on my old Nexus 7 tablet. Now Android 9 is there. This post shows how to install latest Android 9 with latest Microsoft apps.
Increase the system partition size
In old android devices like Nexus 7, the system partition is very small, about 800M. After installing the Android 9 ROM, the Google app store cannot be installed. Even the smallest Open GApps version (pico) fails to install with a 70 error: insufficient space on system partition. So the first step is to increase the system partition size.
TWRP has a resize partition function. However, it does not work for Nexus 7 tablet, since Nexus 7’s system partition is located in the middle of many partitions. So the way is to abandon the original system partition, delete the last partition, and create a new large system partition at the end of the storage space.
First, follow the instructions to download and unzip the ADB tools. For windows, it can be downloaded from https://dl.google.com/android/repository/platform-tools-latest-windows.zip.
Then download and unzip the parted tool from http://iwf1.com/iwf-repo/parted.rar.
Next, follow the instructions to backup the original partition table:
adb push parted /
adb shell
~ # chmod +x parted
~ # /parted /dev/block/mmcblk0
(parted): unit b
(parted): p
Now delete rename to original system partition to something else, delete the last data partition, and recreate new system partition and new data partition:
(parted): name 22 unused1
(parted): rm 30
(parted): mkpart primary 2415919104B  5570068479B
(parted): mkpart primary 5637144576B 31272713727B
(parted): name 30 system
(parted): name 31 userdata
(parted): quit
~ # mke2fs -b 4096 -T ext4 /dev/block/mmcblk0p30
~ # mke2fs -b 4096 -T ext4 /dev/block/mmcblk0p31
~ # /parted /dev/block/mmcblk0 p
~ # exit
adb reboot recovery
After reboot, it is ready to install Android OS and Google app store.
Install Android 9 and Google app store
First, download the latest Android 9 pie ROM, for example, AOSP r46 ROM: https://androidfilehost.com/?fid=6006931924117931258.
Then download the Open GApps, for example, the stock version can work with the enlarged system partition: https://opengapps.org/.
Now transfer these 2 zip file to the device, and use TWRP to install them both.
After reboot, the device will have Android OS and Google app store.
Fix the Pixel Launcher crash
The Google’s Pixel launcher keeps crashing and many users report the same issue. To fix this, the /data/system/packages.xml file need to be edited.
First, use adb to pull the file from device, and edit it with text editor, for example, Visual Studio Code:
adb pull /data/system/packages.xml
code packages.xml
Find the com.google.android.apps.nexuslauncher segment, add 2 permissions:
<package name="com.google.android.apps.nexuslauncher" codePath="/system/priv-app/NexusLauncherPrebuilt" nativeLibraryPath="/system/priv-app/NexusLauncherPrebuilt/lib" publicFlags="877379141" privateFlags="8" ft="16cabc2c4a0" it="16cabc2c4a0" ut="16cabc2c4a0" version="604" userId="10019" isOrphaned="true">
    <sigs count="1" schemeVersion="1">
        <cert index="19" key="308203c7308202afa003020102020900ed6adca108384104300d06092a864886f70d0101050500307a310b30090603550406130255533113301106035504080c0a43616c69666f726e69613116301406035504070c0d4d6f756e7461696e205669657731143012060355040a0c0b476f6f676c6520496e632e3110300e060355040b0c07416e64726f69643116301406035504030c0d6e657875736c61756e63686572301e170d3136303530323231313933325a170d3433303931383231313933325a307a310b30090603550406130255533113301106035504080c0a43616c69666f726e69613116301406035504070c0d4d6f756e7461696e205669657731143012060355040a0c0b476f6f676c6520496e632e3110300e060355040b0c07416e64726f69643116301406035504030c0d6e657875736c61756e6368657230820122300d06092a864886f70d01010105000382010f003082010a0282010100a87aac2fe945313ae9afcc9815d01fa7ede40eaf5a8f280ab4da9c84346b2ca0b2da8d9532d24cb2ce950f6a627273487b7bd9c5601339823842c511926f7e177dc91d919de2e3f6750f9b03fe04f16f008724bbc90fc5e7f2f85e712d523edb93b7903fb007f11756d895d14355d0fa07c05a5773b650b7e6d50e50359884994224ed38591203898840c6b1df6a3604241e24ef9658729e25b6ada3c772a3bbb3d7d832115a2c1901b33b737a5d2a40da9d68c0ecd5e1f9f11d75437286368eab8cd527fe1465aad1da6a0d436767b8b4b53f83e10eac533f48e125b6824899721cabd80cd9749388bd096824e53fce0bcf2c367c6ab9894fa7b135a0b627510203010001a350304e301d0603551d0e041604145055852c1911bb9bd0ba4db3d6a5dfb9acbfa07b301f0603551d230418301680145055852c1911bb9bd0ba4db3d6a5dfb9acbfa07b300c0603551d13040530030101ff300d06092a864886f70d010105050003820101008e190c51ea11edba56bfddfd11ea6d13e729d8ba2a06bd8a346a5d7b7080694003bfe6e284a688f230657d9955854c4dff3fb9d07655911053468ee322314e13e4e098d46d218098d6a316bc0751f1c5b7a7f415358b008cc81ad8b43f05251eb1be5a375c44f8b9c9da46dcfb47f52a7d02dd49e5fe197e257d4946dfc0993f61fe78b4be47c9c6cba1cab164df8d513f41fb79e85f69df1a500e4f0bea4e2f912720765a0a05270f9565e29b46e42f4de5956875f93b7293e9f45ea397c5821738fc2b8bfbf48eb2794dcb7e7997f4a4952fba63605952bf50e8066048afef7fafa9f13ceb122c10759ffbb99d729d671f7c301482fd530cd48a2a9e878f86" />
    </sigs>
    <perms>
        <item name="com.google.android.apps.nexuslauncher.permission.READ_SETTINGS" granted="true" flags="0" />
        <item name="com.google.android.providers.gsf.permission.READ_GSERVICES" granted="true" flags="0" />
        <item name="android.permission.RECEIVE_BOOT_COMPLETED" granted="true" flags="0" />
        <item name="android.permission.BLUETOOTH" granted="true" flags="0" />
        <item name="android.permission.BLUETOOTH_ADMIN" granted="true" flags="0" />
        <item name="android.permission.CONTROL_REMOTE_APP_TRANSITION_ANIMATIONS" granted="true" flags="0" />
        <item name="android.permission.BIND_APPWIDGET" granted="true" flags="0" />
        <item name="android.permission.PACKAGE_USAGE_STATS" granted="true" flags="0" />
        <item name="android.permission.WRITE_SECURE_SETTINGS" granted="true" flags="0" />
        <item name="android.permission.SET_WALLPAPER" granted="true" flags="0" />
        <item name="android.permission.REQUEST_DELETE_PACKAGES" granted="true" flags="0" />
        <item name="android.permission.SET_WALLPAPER_HINTS" granted="true" flags="0" />
        <item name="com.google.android.apps.nexuslauncher.permission.WRITE_SETTINGS" granted="true" flags="0" />
        <item name="com.google.android.apps.nexuslauncher.permission.QSB" granted="true" flags="0" />
        <item name="android.permission.VIEW_INSTANT_APPS" granted="true" flags="0" />
        <item name="com.google.android.launcher.permission.READ_SETTINGS" granted="true" flags="0" />
        <item name="android.permission.STATUS_BAR" granted="true" flags="0" />
        <item name="android.permission.MANAGE_ACTIVITY_STACKS" granted="true" flags="0" />
    </perms>
    <proper-signing-keyset identifier="6" />
</package>
Now push the edited file back to the device:
adb push packages.xml /data/system/packages.xmlAfter reboot, the Pixel Launcher can work.
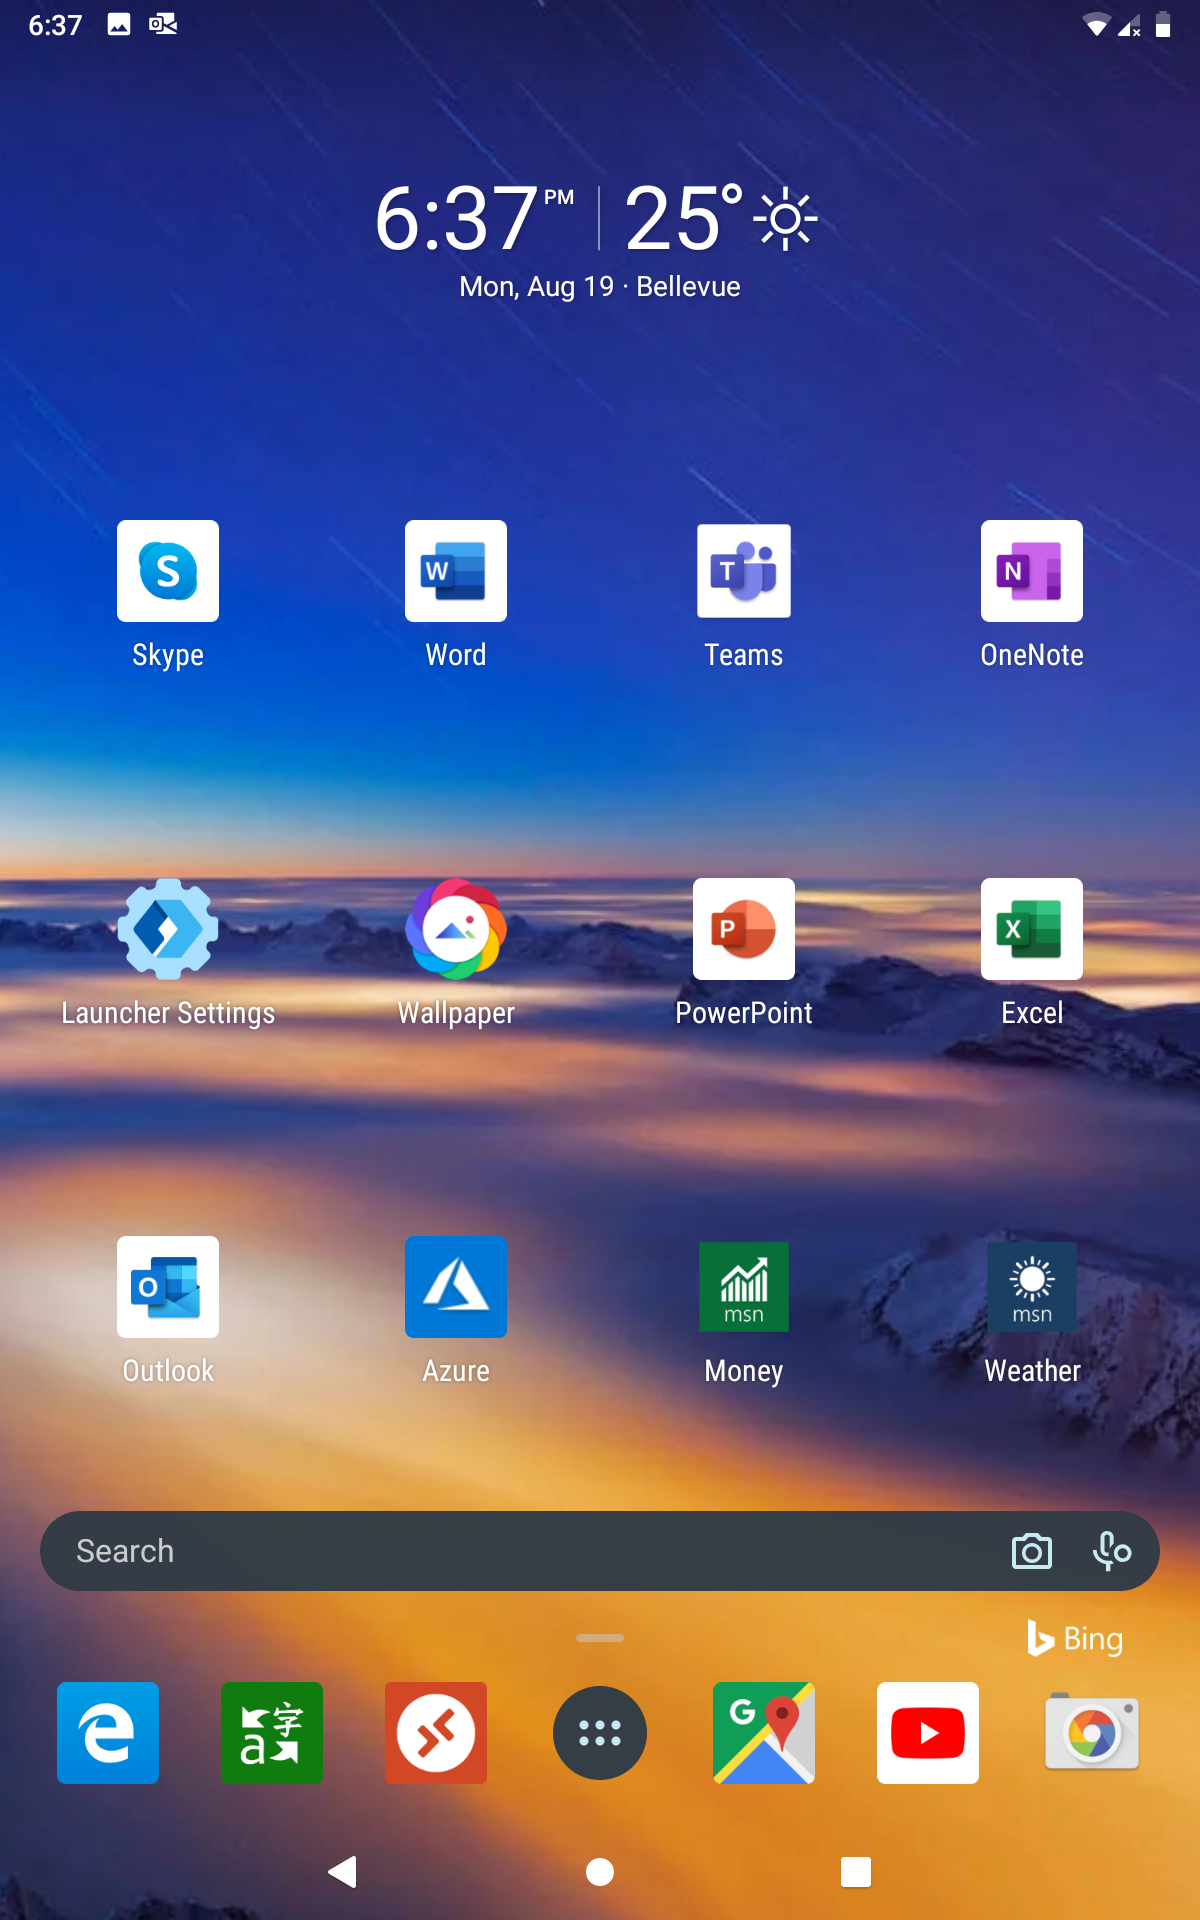
Install Microsoft Launcher and apps
Now launch Google app store, install Microsoft Launcher: https://www.microsoft.com/en-us/launcher.
Once it is installed, it places a folder on the desktop, with shortcuts to install the popular Microsoft apps, like OneNote, Skype, Outlook, Teams, etc. Just tab the icons to install them.

