Archives
-
End-to-End - Setup free SSL certificate to secure Azure Web App with HTTPS
It is 2019 now, and HTTP is considered as “not secure”, and HTTPS is the default. This is a end-to-end tutorial of how to setup SSL certificate to secure Azure Web App with HTTPS. It is based on “Let’s Encrypt” and “letsencrypt-webapp-renewer”. “Let’s Encrypt” is a free certificate solution, and “letsencrypt-webapp-renewer” is a great automation tool for certificate installation. It is based on another tool “letsencrypt-siteextension”. The differences are,
- “letsencrypt-webapp-renewer” does not require an Azure Storage Account, but “letsencrypt-siteextension” does.
- “letsencrypt-webapp-renewer” is a WebJob, and can run on a different Web App from the Web App to install certificate. And it can manage multiple Web Apps’ certificates as well. “letsencrypt-siteextension” is a Website extension, and can only run with the Web App which needs certificate.
So here “letsencrypt-webapp-renewer” is used.
What is “Let’s Encrypt”
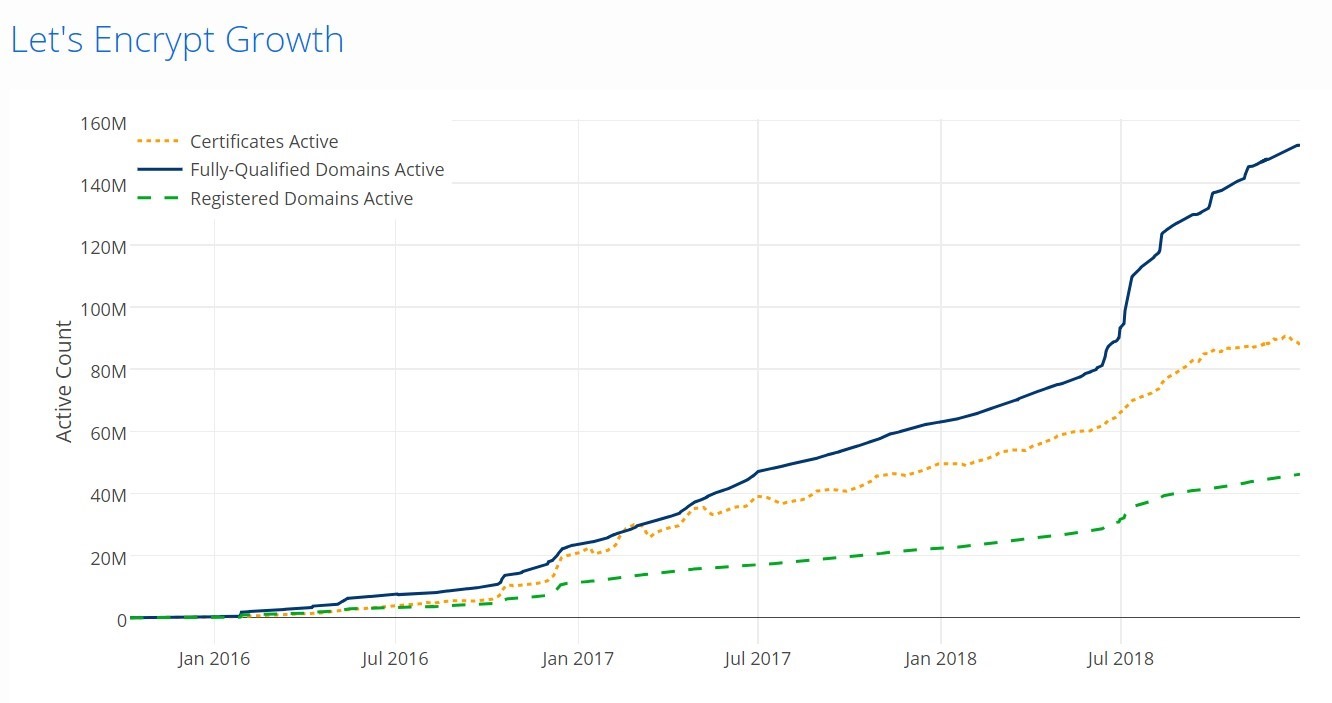
“Let’s Encrypt” is a popular certificate authority, it can issue SSL certificate for free, and currently providing certificates for more than 115 million websites. Since July 2018, the Let’s Encrypt root, ISRG Root X1, is directly trusted by Microsoft products. So currently its root is now trusted by all mainstream root programs, including Microsoft, Google, Apple, Mozilla, Oracle, and Blackberry.
However, its free certificate expirees in every 3 months (90 days), not yearly. So a automation process will be setup to renew and install the certificates.
Setup Active Directory and App Registration
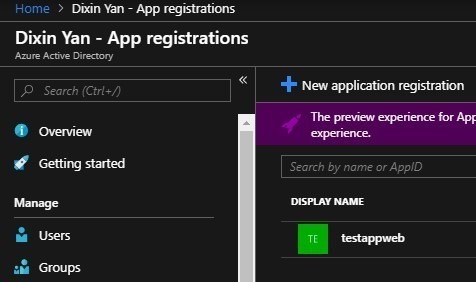
In Azure portal, go to the Active Directory, add a new App Registration:
Save its application id, later it will be used as “client id”:
Then go to Certificates & secretes, add a client secrete, and save it:
Setup Resource Group
Go to resource group, In Access Control, add the above App Registration as contributor:
Setup Azure Web App (aka Azure App Service Website)
This article assumes an existing Azure Web App. If you do not have one yet, it is very straightforward to create one from the Azure portal. Then you can deploy your website to that Azure Web App.
Save the subscription id and resource group name for later usage.
Only Basic (B1+) and above pricing tiers support SSL. The free tier (F1) and the cheapest Shared tier (D1) does not support SSL, and Microsoft has declined to enable this feature for Shared (D1). If you have a F1 or D1 web app, go to “Scale up” in the Azure portal, change the pricing tier to B1 and above, which is more than 3 times of the Shared (D1) price.
Setup custom domain
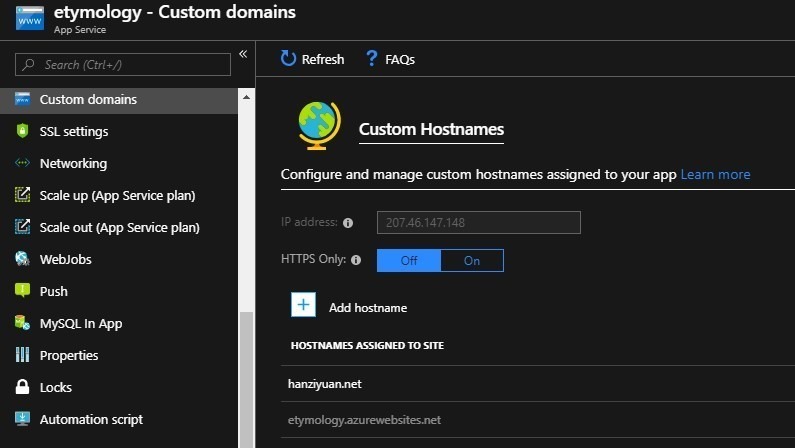
Shared pricing tier and above support custom domain. Follow the guidelines in the portal to setup your domain.
To verify your domain ownership, Let’s Encrypt requests your-domain.com/.well-known/acme-challenge/{longId}. For example: hanziyuan.net/.well-known/acme-challenge/mftvrU2brecAXB76BsLEqW_SL_srdG3oqTQTzR5KHeA.
Enable HTTPS in ASP.NET Core website
In your ASP.NET Core website, you may want to enable HSTS, and redirect HTTP request to HTTPS:
public class Startup
{
    public void ConfigureServices(IServiceCollection services) // Container.
    {
        if (this.environment.IsProduction())
        {
            services.AddHttpsRedirection(options => options.HttpsPort = 443);
        }

        // Other configuration.
    }

    public void Configure(IApplicationBuilder application, ILoggerFactory loggerFactory, IAntiforgery antiforgery, Settings settings) // HTTP pipeline.
    {
        if (this.environment.IsProduction())
        {
            application.UseHsts();
            application.UseHttpsRedirection();
        }

        // Other configuration.
    }
}
You also want to look up the hyperlinks and resources (images, etc.), and replace their URIs with HTTPS.


