Installing SharePoint 2010 in one machine with built in database
It is very easy to deploy SharePoint 2010 in a single server using the built-in database. Normally one need to choose such installation for evaluation purposes.
When installing with default settings, setup installs Microsoft SQL server 2008 express database along with SharePoint. After installing SharePoint, you need to run SharePoint products and technology configuration wizard which will install central admin website and creates the configuration database and content database for SharePoint sites.
Limitations
1. You can not perform this installation on a domain controller
2. The maximum size for express edition database is 4 GB
SharePoint 2010 only supports 64 bit operating systems. The installation steps are for windows server r2 64 bit enterprise edition.
Installation steps
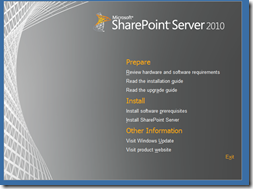
The first screen for the installation is as follows
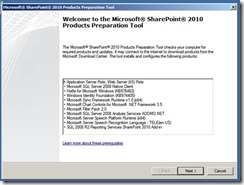
As a first step you need to install the s/w prerequisites. Click on the corresponding link
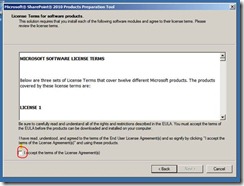
Click next, here you have to agree on the license terms.
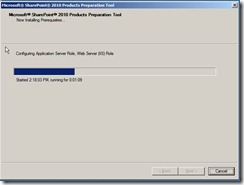
Select the checkbox and then click next. The installation will starts. The progress will be updated in the screen.
This may take some time as during this process, there are some components needs to be downloaded from internet. Make sure you are connected to the internet, then only the installation will become a success.
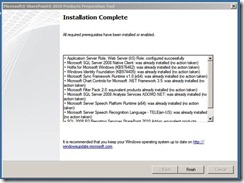
If any error occurs, it will display the error, you need to configure in order to continue. If everything ok you will receive the following success page.
Click finish to exit the installation window.
Now from the first screen, select Install SharePoint server. This will install SharePoint and SQL server 2008 express edition.
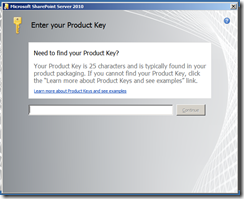
First you need to enter the product key for SharePoint.
Enter the product key and clicks continue.
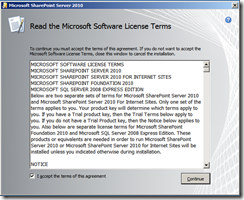
Now you need to accept the license agreement.
Select the checkbox and click on continue.
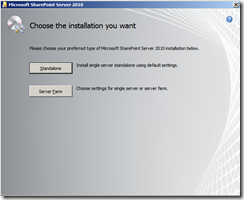
Select the installation type you want.
Now click on the standalone button. In production scenario, you need to select the server farm installation. This article only cover the first option, installing server farm is not in the scope of this article.
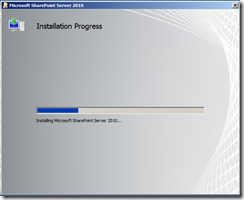
Once you click on the standalone, the installation starts and you can view the progress as below.
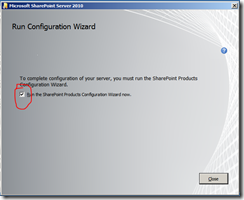
If any error occurred during installation, you will get the details and link to the log file. Refer log file and fix the corresponding issue and then start the installation again. If installation completes without any error, you will see the below screen.
Make sure you selected the check box “Run the SharePoint products Configuration Wizard now” and click close.
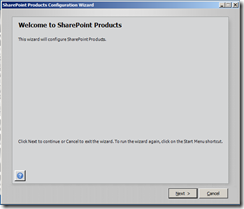
The SharePoint products configuration wizard starts.
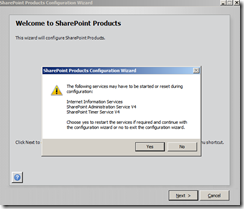
Click next; you will get the following warning
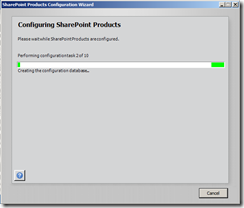
Click yes and the configuration steps starts. You can view the progress for each step.
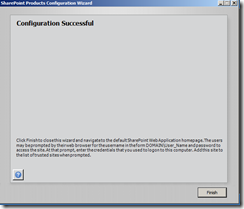
Once completed the below screen appears to the user.
Click finish to complete the installation. Now SharePoint installation is completed. You can navigate to SharePoint central administration website from the administrative tools and start building your portal.
Good luck
